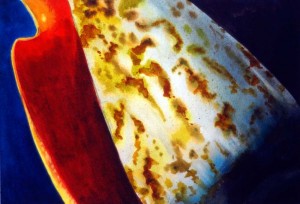
A small 8 x 10 inches watercolor painting done on cold press watercolor paper. It is a close up watercolor painting of a sea shell. Layers of watercolor wash was applied first with the background and then onto the subject itself. A variety of red and orange watercolor paint was used on the inside of the sea shell. Watercolor wet into wet in areas of the surface of the shell and the shaded areas to give it a three dimensional look. Finally paint is being splash on and colors lifted on to produce the various highlights.
Tag Archives: yellow
Dailywatercolor painting – Autumn leaves watercolor painting
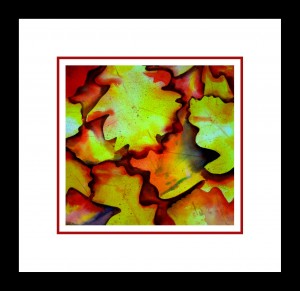
This watercolor painting was done on a 15 x 15 inches cold press watercolor paper taken from a watercolor pad. The watercolor paper seems to have a different texture and characteristic than what I have been used to which is the Arches watercolor paper. It takes watercolor paint well but the paint seems to dry to a dull finish. I used the wet in wet technique in this autumn leaves study starting from the top left corner. The overall color is painted in and around the shapes. Somehow I lost the drawn outline and end up with an abstract of orange and yellow color instead of a painting of autumn leaves. Then I took the reference photo and started to outline the various shapes with a heavy felt tip black marker. After I did that to the reference photo, the shape of the leaves reappear and I can go over the watercolor painting with darker shades to outline the leaves. What I have learned is that I need to study the subject carefully and identify each of the subject and it’s relationship with the background before I start to paint. I would also like to experiment a little bit with a lighter outside border to increase the impact and interest of this autumn leaves watercolor study. Will show the final painting in a few days.
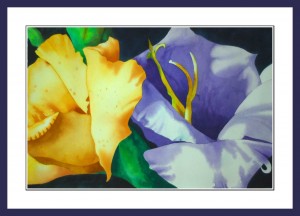
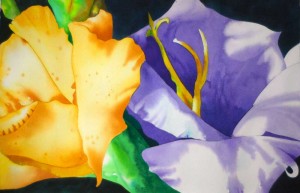
Daily watercolor – Flower Close-up #3 – 11×15 inches flower watercolor painting
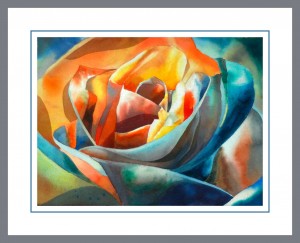
This is the final watercolor painting on the #3 flower close-up. It is done on 11×15 inches arches cold-press watercolor paper. If you compare this from the previous post, I have added more layers of color on to some areas to make it darker so that the flower will show up more. Areas around the outside has been darken to have a darker value compare with the center. Some colors are being lifted by rewetting and was lifted by tissue and brush. I might do a larger painting on full size paper based on this watercolor painting and will have to use a bigger watercolor brush because of the larger piece of watercolor paper. Will start off the same with pencil drawing and I hope it will have more impact due to the size of watercolor paper.
Daily watercolor – Flower close-up watercolor painting #2
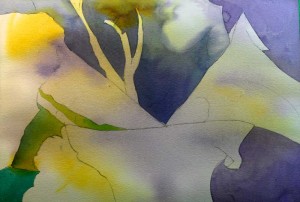
This is a smaller watercolor painting I did of a flower close up. I outline the flower carefully with pencil and then go on to wet the entire paper with clean water. Then I put on a lingt watercolor wash for the background making sure the hightlights are saved by not putting too much watercolor pigment into it. When the watercolor paper is still wet, I hold the paper at various angle to let the watercolor mix itself on the paper. This will create a different color mix you get from mixing the color in the palette. The painting is left to dry before more layers of watercolor is being applied to outline the background.
Daily watercolor painting – Flower close up watercolor painting – 15×22 inches
This is the final watercolor painting for the flower close up watercolor I started last week. It is on 15×22 inches Arches cold press watercolor paper. I have added deeper and stronger shadows in many areas with layers of watercolor pigments. Details are also added onto the flower petals as well. Some areas of the background are painted darker to help with the overall contrast.
Daily watercolor painting – Flower closeup #1 – 15 x 22 inches
I have painted the rest of the close up flower watercolor painting. All areas have at least one or more layers of watercolor wash. I started each area with painting the highlights with clean water and then add the watercolor pigments. Then I move the paper around to get the color mixing on the surface of the watercolor paper. I use 140 lb Arches watercolor paper. The next stage will be to paint the shadows and add more layers in areas where it is needed. This is the hard edge the watercolor painting need to bring out the three dimension of the close up flowers.
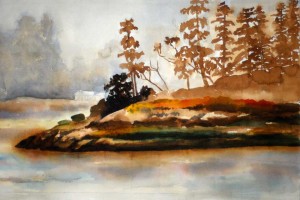
Daily watercolor – Landscape watercolor painting – fog – Underpainting study
After the underpainting with Burnt Umber has been dry, watercolor pigment was layer on top. Started with background which is done wet into wet because a foggy mood need to be created. Layers of wet in wet watercolor is applied in the background and water foreground. One layer after another when the previous one is completely dry. Then the middle ground is painted with watercolor pigment on top of the Burnt Umber underpainting. Many layers of the pigment is applied in watercolor wash as well as using the dry brush technique. Winsor Green and Ultramarine Blue in the Winsor and Newton watercolor paint is used in mixing with Burnt Umber. The bright yellow is Yellow Ochre mixted with some orange pigment.
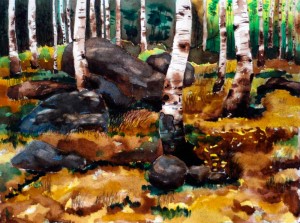
Daily Watercolor – Birch Landscape Watercolor Painting – Underpainting exercise
The above watercolor is the result of first doing a underpainting using Burnt Umber and then adding watercolro layer after layer on top. It was a fun exercise and although it took me twice the length of time to finish the painting, I think I have accomplished what I have started out to do. It is important to leave some of the areas blank so that watercolor can be easily on top. Most of the watercolor paint I put on at this stage are pigments right out of the tube. It gives the painting a fresh and brillent feeling of color and it have a better coverage of the Burnt Umber underpainting under neath.

